Pin Curls: A Tutorial
I can curl my hair in about three minutes flat. It's become an almost-daily task in the morning, and I'm really fast. But, if I'm going out and have a little more time to get ready, I like to curl slowly and pin everything up while I get ready. I find that pin curls are bouncier and hold a lot better than a simple, hasty turn of the curling iron. Here's how to get the look!


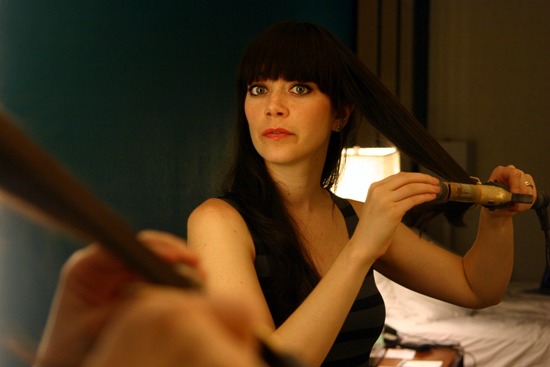
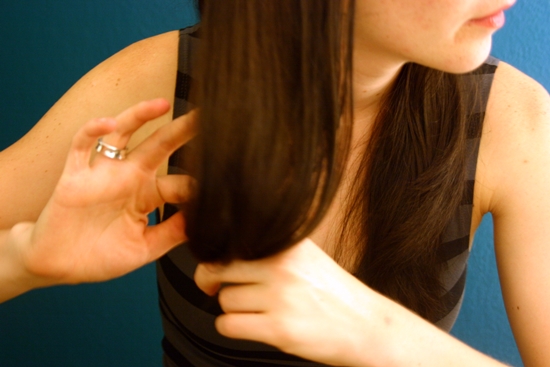

1. Separate hair into sections and curl the first one under. Roll curling iron up as far as possible.
2. When the hair is hot to the touch, release it and carefully (it'll be quite warm!) roll the curl up with your fingers.
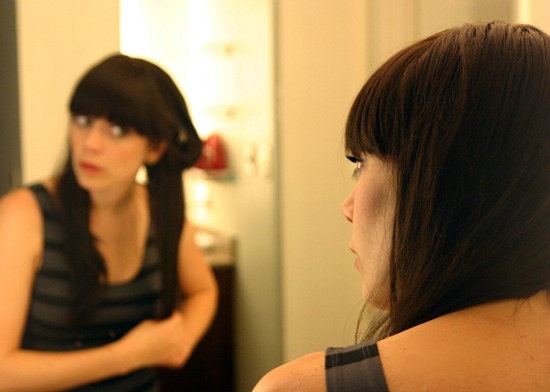
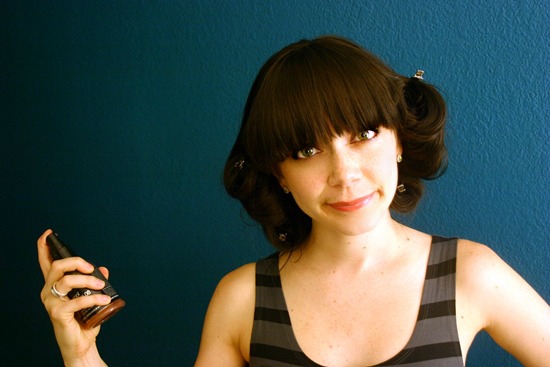
3. Pin the curl against your head. I think you could use bobby pins, but my hair is super thick and heavy, so I use those metal hair pins pictured above.
4. Repeat steps 1-4 all the way around your head!
5. Once everything is pinned up, give the whole thing a spritz (I use Redken Wool Shake).
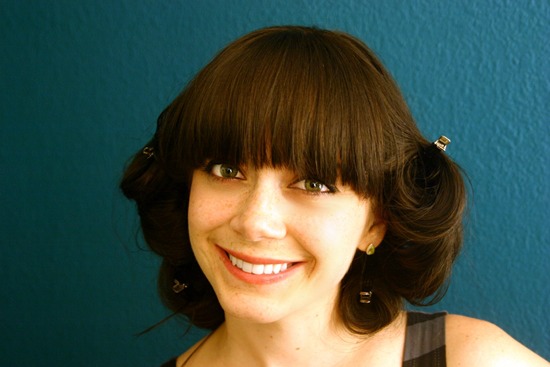
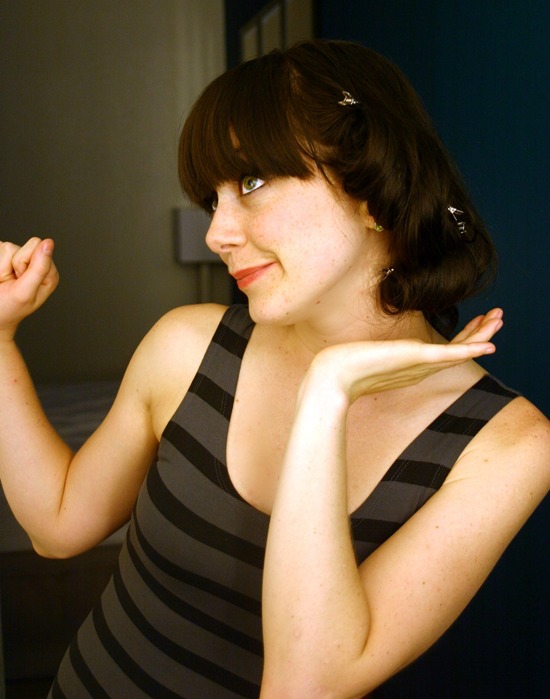
6. Hang out around your house feeling glamorous until it's time to leave! (If I weren't taking photos for the world to see, I'd usually wait until this moment to do my makeup and put some clothes on.)
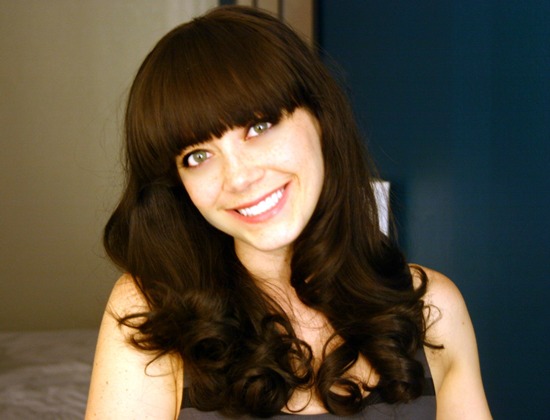
7. Take out the pins, shake your head around, and give the ends one final spray. Go forth and be fancy!