
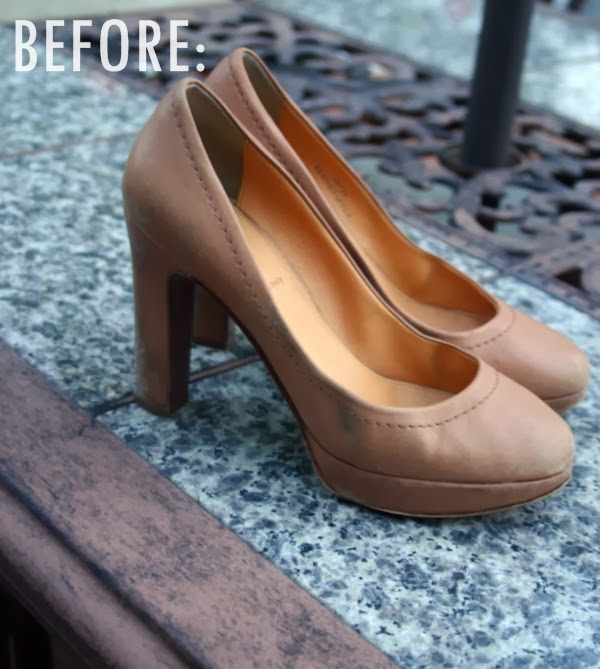
My wedding dress and I fell in love immediately (it was my mom's), but I spent some time trying to figure out what shoes I wanted to wear when I got married last year. Our ceremony was going to be outside and Rob is quite a bit taller than me, so I knew I needed high heels that were substantial enough for me not to sink into possibly damp grass. I thought about wedges but never really found any I liked enough, and I kept coming back to a favorite pair of leather pumps I used to wear to work every day. "If only I could find a pair exactly like these, just a little more special," I kept saying.
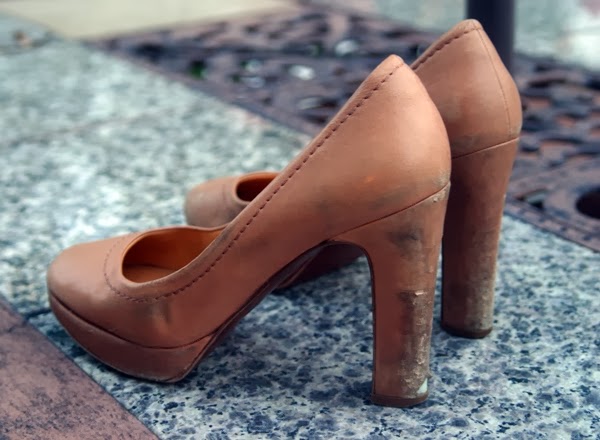
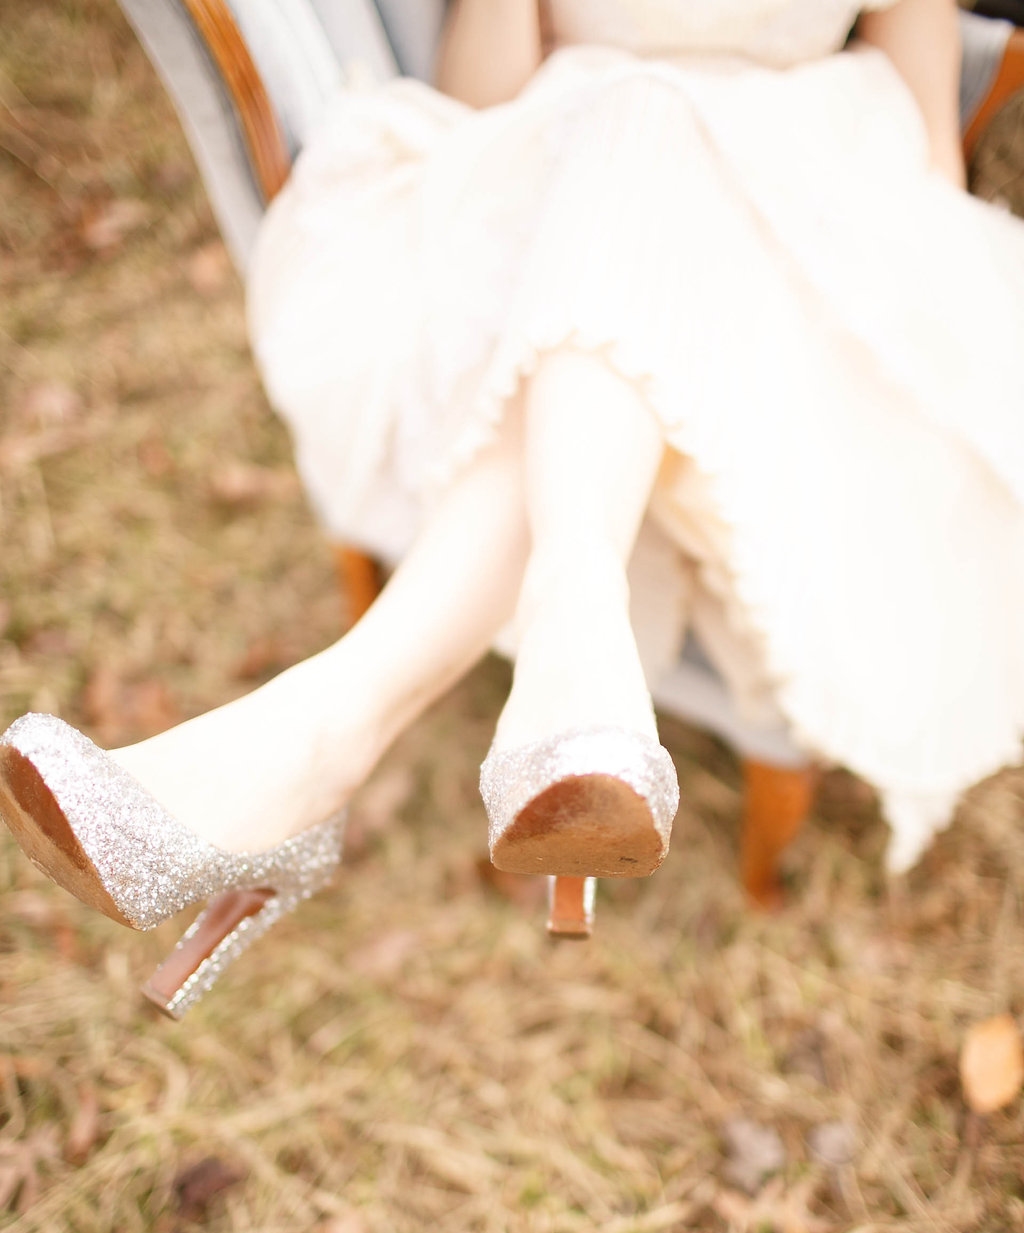
I had a brown pair and a nude pair of these pumps from J.Crew, and the nude ones had been worn to pieces. I had actually stopped wearing them because they looked so bad, and when I was about to throw them away I decided to try a little craft on them first. So with a bit of Mod Podge and a whole lot of glitter, I managed to create the perfect pair of wedding shoes.
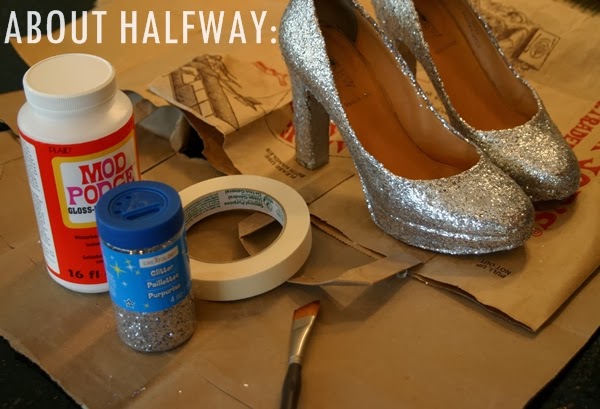
I'm going to show you how I did it because I am really not super crafty, but these were so easy and I absolutely loved making them. (And the supplies only cost me about $15!)

Supplies:
- An old pair of shoes
- Mod Podge Glue, Gloss Finish
- Glitter (I went with a larger glitter in silver)
- A paintbrush
- Masking tape
- Mod Podge Clear Acrylic Sealer
Instructions:
- Tape the soles with masking tape--you don't really have to do this but if you're worried about getting glue on the bottom, it makes life a little easier for you.
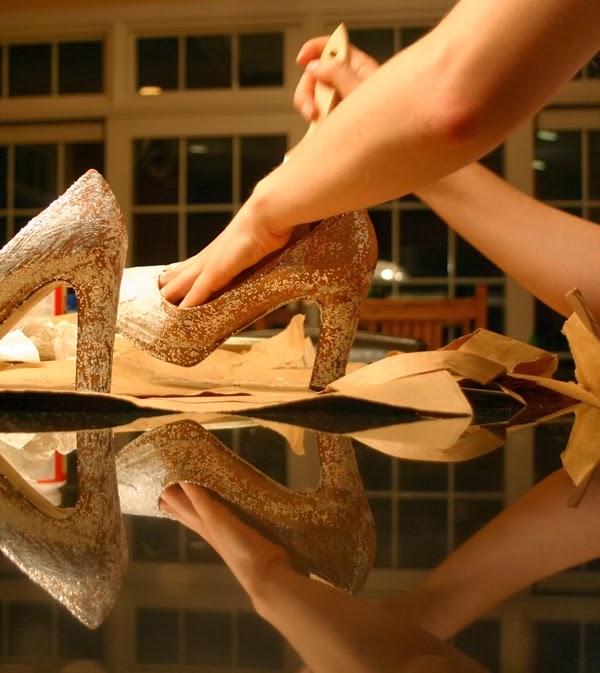
- In a paper bowl, pour some Mod Podge and mix quite a bit of glitter into it. I didn't measure and just kept adding glitter until I could tell that there was more than just glue in there.
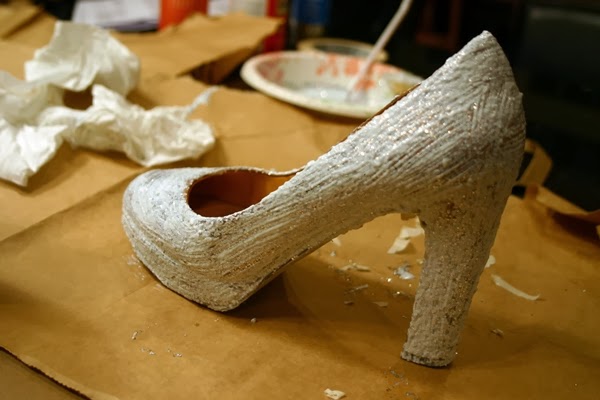
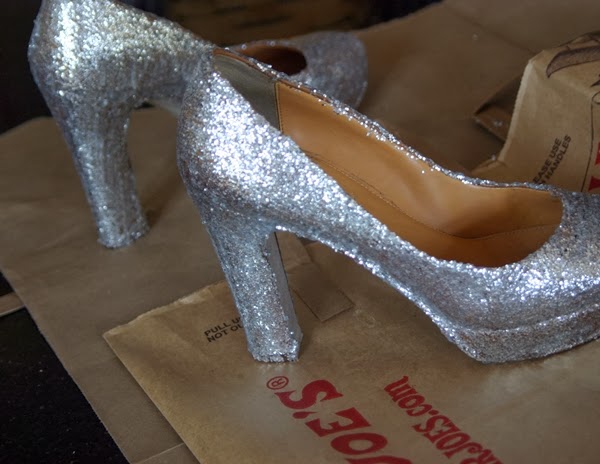
- Brush the glitter-glue mix onto each shoe. Do two or three coats. Let it dry overnight. Remove tape.
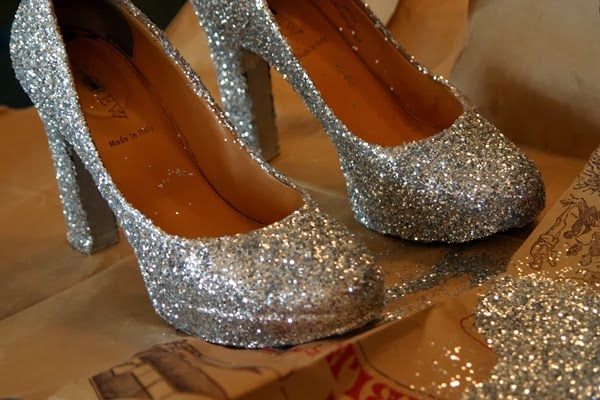
- The next day I felt like they looked pretty good, but I wasn't completely happy with the amount of sparkle. I added another coat of Mod Podge (glitter-less, this time) and then just poured loose glitter on each shoe. That did the trick.
- Use the acrylic sealer to spray a coat or two on top of the final layer of glitter. If you're wearing a short dress, you're good to go, but since my dress is long, I added a few extra coats so that the rough glitter wouldn't snag the lining of my gown.

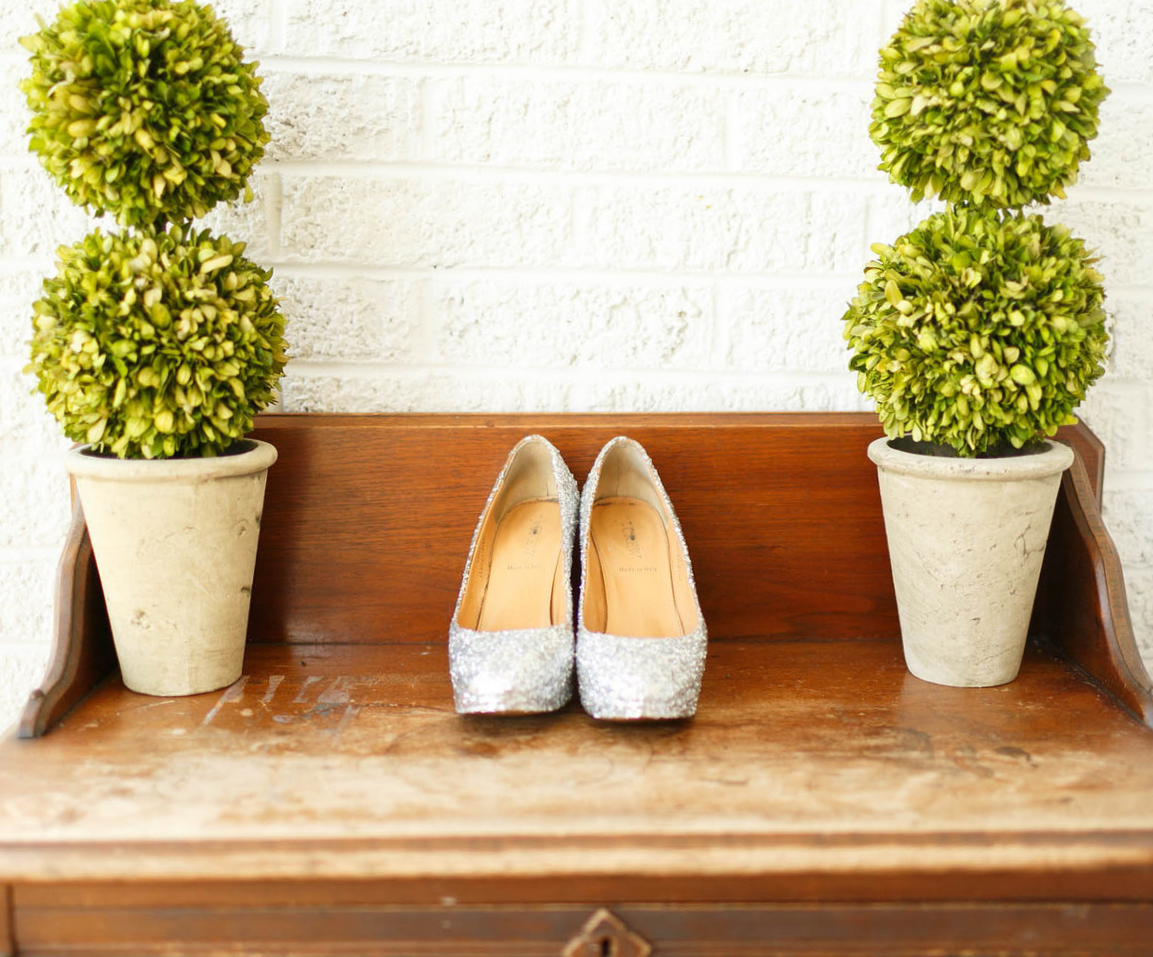
Note: This post was originally published in December of 2013 but I'm reposting it today with some new photos taken by our wedding photographer and a little copy editing. I broke these bad boys out for New Year's Eve last week and got so many compliments and had so much fun saying "Thanks, I made them!" that I wanted to revisit this post. (The formatting of the comments from last year are a little wonky because they were posted before I switched to Squarespace.) If you make a pair of your own, let me know!


