Posts in "Recipes"
Recipe: Paleo Chocolate Chip Raspberry Muffins


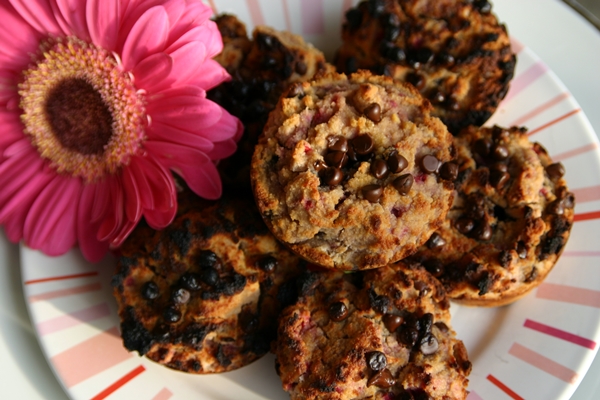
Sometimes you have a very rainy weekend that was supposed to be 74 degrees and sunny, but then Sunday rolls around and the sun comes out and it's warm and all the winter-y rain from the two previous days have made the afternoon smell like spring, so you go to the grocery store with bare arms and your best friend and you buy fresh berries because it's time for some muffins.

I came up with this recipe by accident one time when I was making mini-muffins for this post on Skunkboy. I was going to follow a recipe and just substitute regular flour for coconut flour, and then I messed up the measurements and added a bunch of random things like shredded coconut and honey, but what I ended up with was actually the blueprint for a pretty good Paleo muffin base recipe. Then, you can add whatever you want to make a flavored muffin--this time I chose raspberries and chocolate chips.

There's a tiny bit of baking powder in these muffins and if you're a Paleo snob who's going to freak out about it instead of simply choosing not to include it, then we probably can't be friends anymore.


Ingredients:
Makes twelve big boy muffins.
--
6 eggs
4 tablespoons coconut oil
1 cup coconut flour
1/2 cup honey
1/2 cup coconut milk
1/2 teaspoon baking powder
--
A 6 ounce container of fresh raspberries, washed and chopped
(Save a few of the chocolate chips for the top.)

1. Preheat your oven to 350 degrees.
2. Melt the coconut oil in a bowl and add flour first, then eggs, and then all other ingredients.
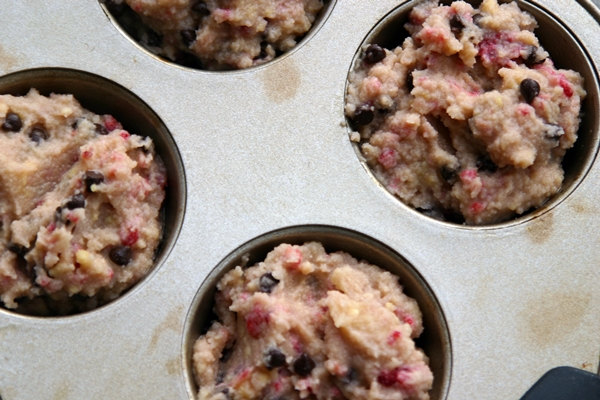
3. Mix the batter together and spoon into greased muffin tins (you can use more coconut oil or an olive oil spray).
4. Bake for 25 minutes, (halfway through you can top them with the extra chocolate chips), broiling at the very end to brown the tops if necessary.


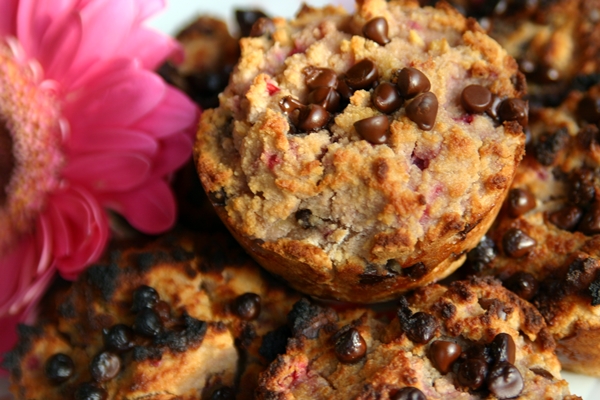
(I had to open one up so you could see inside. And also so I could take a bite.)


Whether it's rainy and cold or sunny and warm, muffins are perfect for whatever season you happen to be in.
Related Posts Plugin for WordPress, Blogger...
Recipe: Sweet Potato Wedges with Goat Cheese Bacon Dip
I'm not going to say anything to you about this recipe except for you're welcome, because it is beautiful and it came to me in a vision the way I picture saints appearing to people in burlap cassocks, standing on old rocky hills somewhere in Italy. 

There's a restaurant in the DC area that I love that has a whipped feta dip with hunks of jalapeno in it, and it is so good but it's a bit too much dairy for me. They also serve it with pita bread, and I had to have cucumbers which is fine, I guess, but I thought I'd make my own version that wouldn't make me feel sick or deprived in any way.

I made my dish more Paleo by using goat cheese instead of feta and then adding bacon, obviously.


Ingredients:
For the sweet potato wedges:
Two sweet potatoes 
(Make more if you want, but you'll run out of dip.)
A liberal drizzle of olive oil
Salt and pepper, to taste

For the goat cheese bacon dip:
A four-ounce package of plain goat cheese.
Two green onions
Two teaspoons of coconut milk
(More coconut milk if you want your dip to be thinner.)
Four strips of crunchy bacon.
1/4 teaspoon dried rosemary
1/4 teaspoon dried thyme
1/4 teaspoon garlic powder
Two or three shakes of crushed red pepper flakes
Salt and pepper, to taste


1. Take the goat cheese out of the fridge, out of the wrapper, and into a bowl to get to room temperature.
2. Preheat the oven to 450 degrees.
3. Wash your sweet potatoes really well. Leave the skins on if you want (I think you should) and scrub them!
4. Cut each sweet potato into eight wedges, lay on a baking sheet, and drizzle olive oil over them. 
5. Spread the oil around with your hands and get each wedge really covered. Add salt and pepper.
6. Pop 'em in the oven for about 25 minutes, turning them every ten minutes or so.

7. With a hand mixer, whip the goat cheese up until it's a little fluffy, and add the coconut milk. Whip some more.
8. Add salt, pepper, rosemary, thyme, and garlic powder. Whip it!
9. Add crumbled bacon and sliced green onion. Whip it good!
10. Put the dip in a bowl and serve with sweet potato wedges. 


Now dip the sweet potato in or smear some of it over the wedge with a knife.
You could also totally use this as a topping on a baked sweet potato.
But I wanted fries.


Seriously, bring this to a holiday party.

Related Posts Plugin for WordPress, Blogger...
Recipe: Easy Lemon-Garlic Broccoli

I love lemon and garlic together. I love most green vegetables. I love this broccoli with garlic and lemon.

Lately, I've been hearing a lot of people telling me that they don't eat vegetables because it's way too hard. Because they go bad or because they take too much time and preparation. So here I am, showing you this recipe, and telling you that you literally need a knife, a pan, and three or four basic ingredients to make this. You don't even need a cutting board, which I know, because I made this at Rob's apartment, and they don't  have one.

I got pre-washed, already cut broccoli in a bag because I wanted to show you just how easy this can be.


Technically, you don't even need a knife, because you could totally just use garlic powder instead of fresh garlic. And you could claw the lemon open with your bare hands. You know what? Maybe you should just get a knife. That'd be best.

Ingredients:
Makes enough for two big servings.
A bag of pre-washed, already cut broccoli
(You can buy it however you'd like--wash it yourself if you want!)
One lemon
One clove of garlic or some powdered garlic
(You can use one or both. I use both.)
A couple tablespoons of olive oil
Salt and pepper, to taste

1. Heat up a pan with some olive oil.
2. Smash a clove of garlic and add it to the hot pan.
3. Add the broccoli. Don't pile it up--try to let each piece touch the pan.
(If I'm working with a small pan, I cook the broccoli in two batches.)
4. Add salt, pepper, and some garlic powder if you want.
5. Once it's been cooking for a minute or two, stir everything around.
6. Cut a lemon in half and squeeze the juice over the cooking broccoli.
7. It's done when it turns a dark, bright green and some of the leaves are charred a bit.
8. Turn off the heat and give it another squeeze of lemon. Taste it to see if you need more salt, pepper, or garlic powder.


Eat your vegetables.
Related Posts Plugin for WordPress, Blogger...