Posts in "Recipes"
Butter-Garlic Brothy Rice

When it comes to food, my husband and I are polar opposites—we’re both big eaters and appreciate great food, but our ideas of comfort food are totally different. Even when we get takeout for dinner, we often disagree on what we should order—I’m firmly in the Noodles of Any Kind camp, and he’s more into pizza or a hot Italian sub. Luckily, last summer we discovered a Panda Express right next to a Firehouse Subs so we mobile order both and pick them up in one fell swoop. #marriage

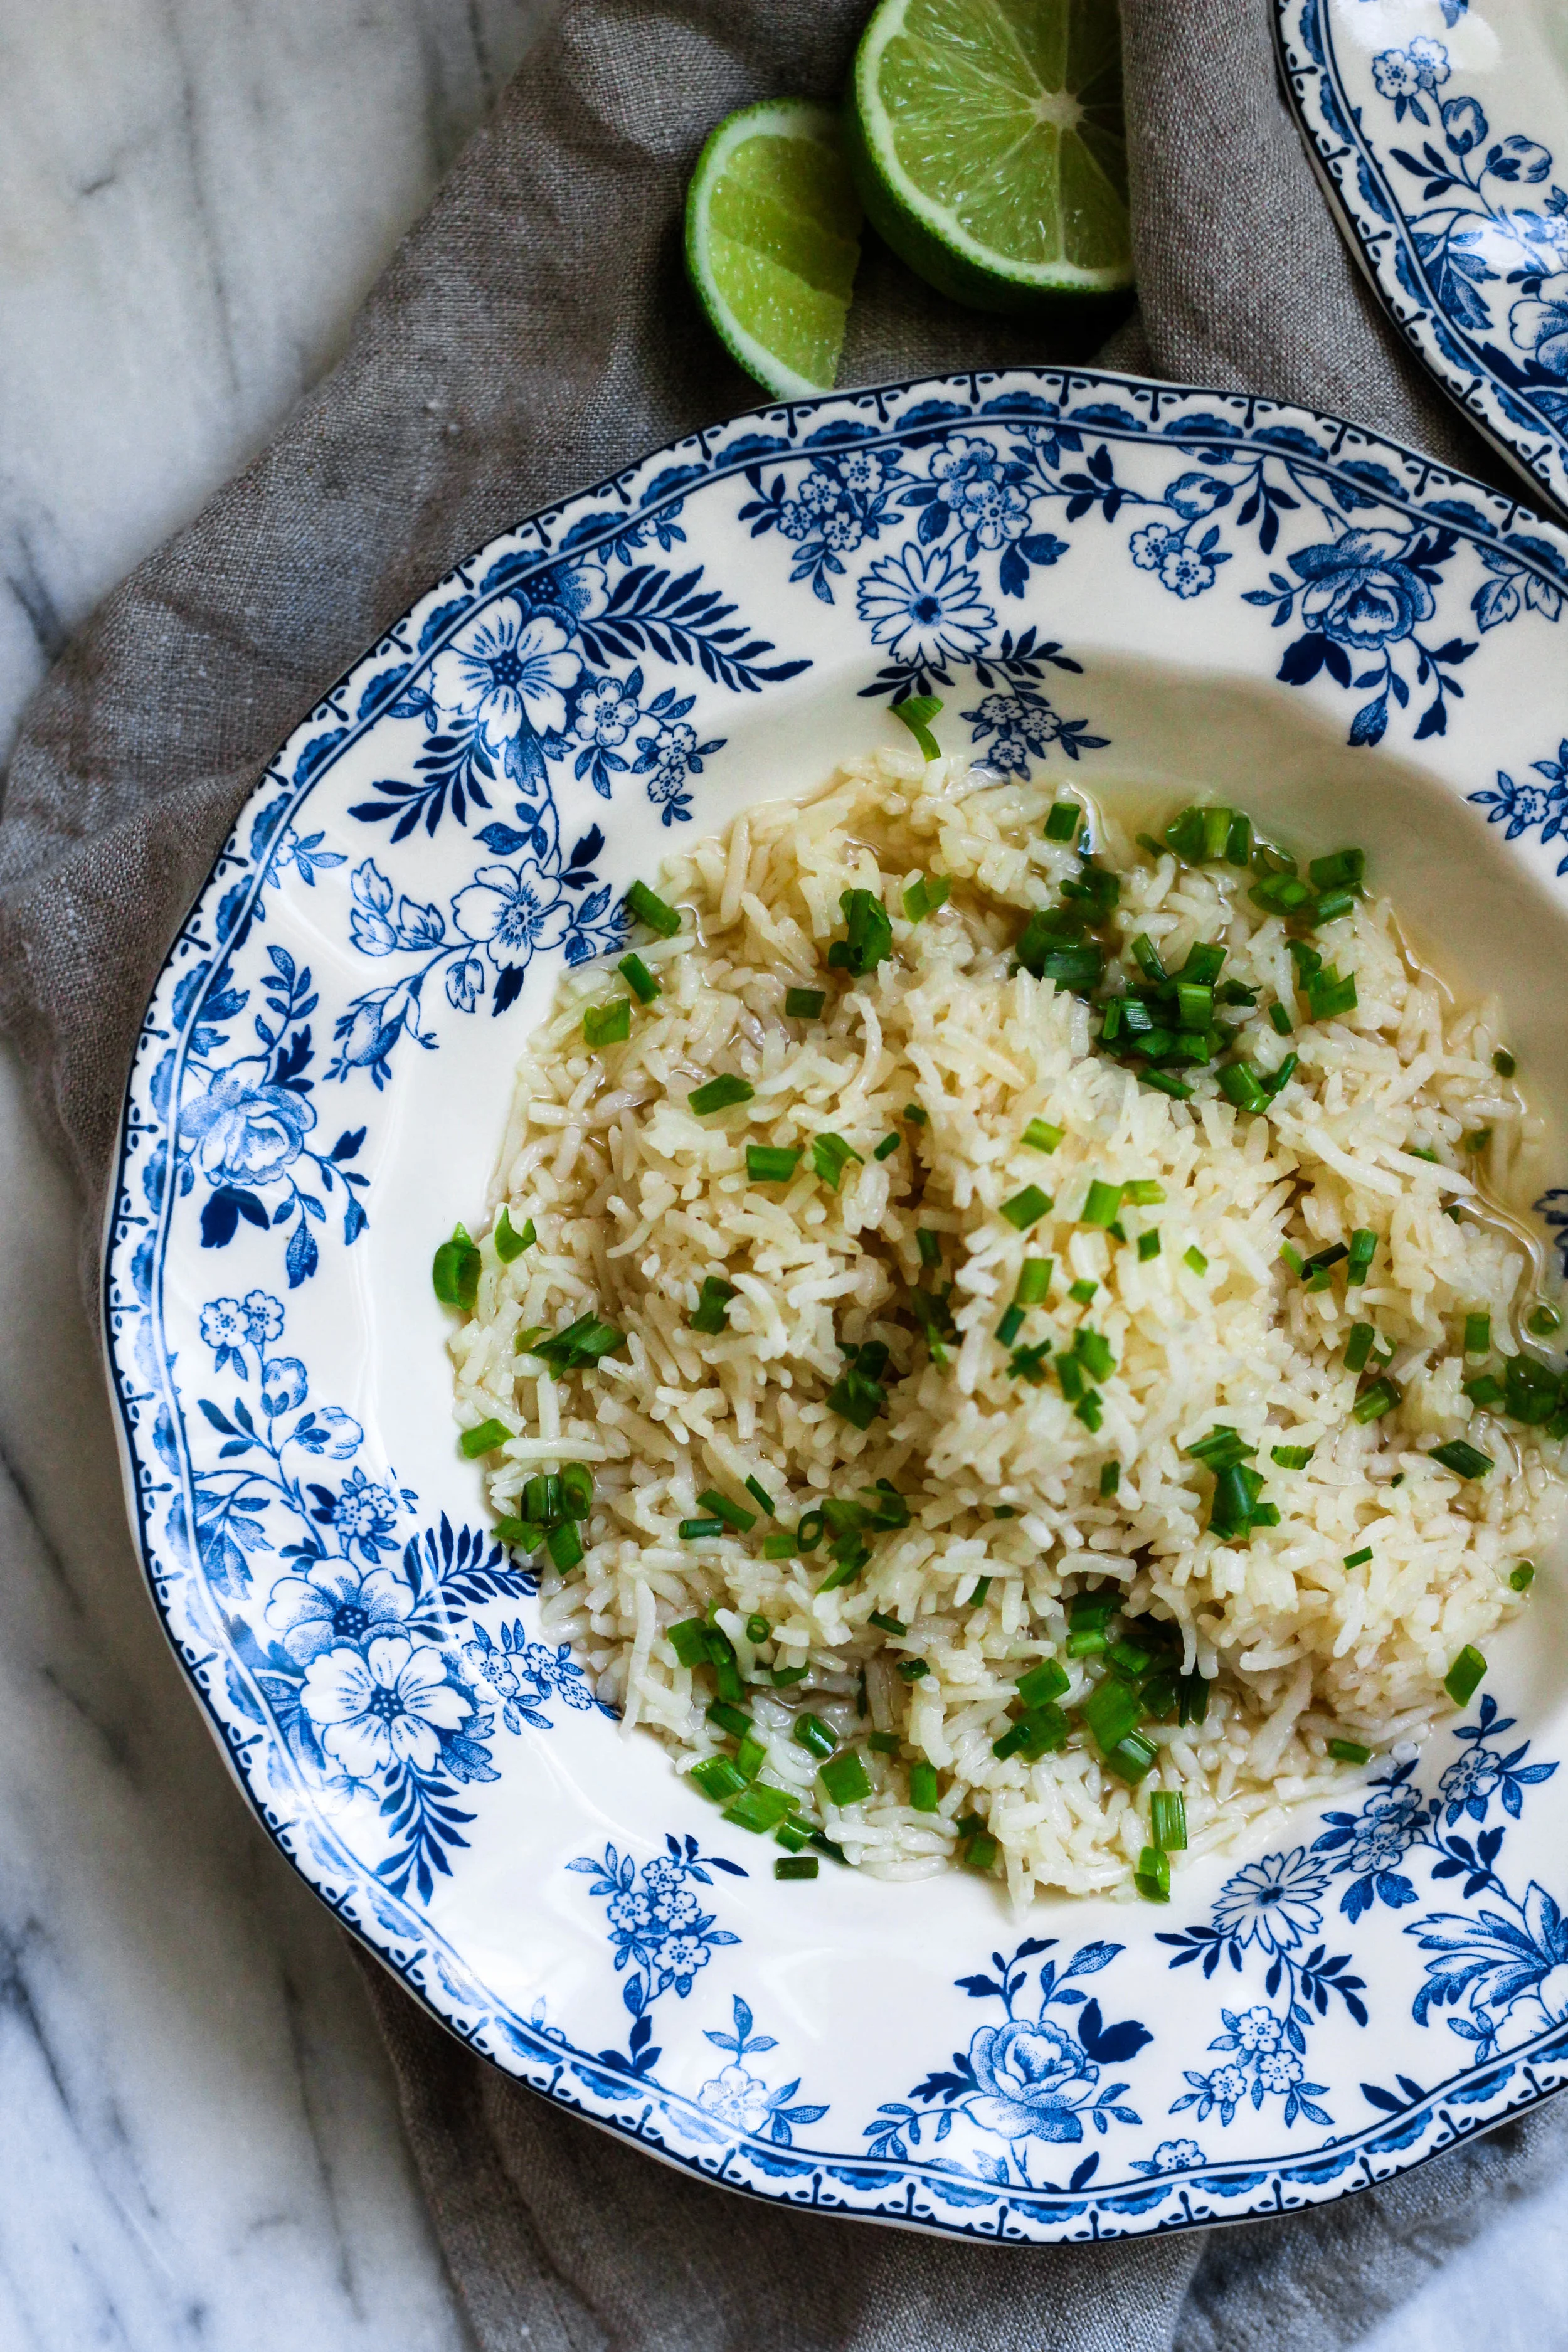
All of that is to say that this recipe is my kind of dish, and it’s one that I know I’ll get to enjoy in its entirety (although Sophie does seem to take after me when it comes to rice and noodles) because Rob is just not interested in brothy rice, which is what this is. I wouldn’t call it soup, but it should be served with enough broth that you need a spoon to slurp up any remaining liquid in your bowl.

This is basically a non-recipe, but when I shared a photo on Instagram Stories the other day (I made it a week ago when I had a migraine) I got a lot of inquiries so I thought I’d make it again (twist my arm) and share a full post.

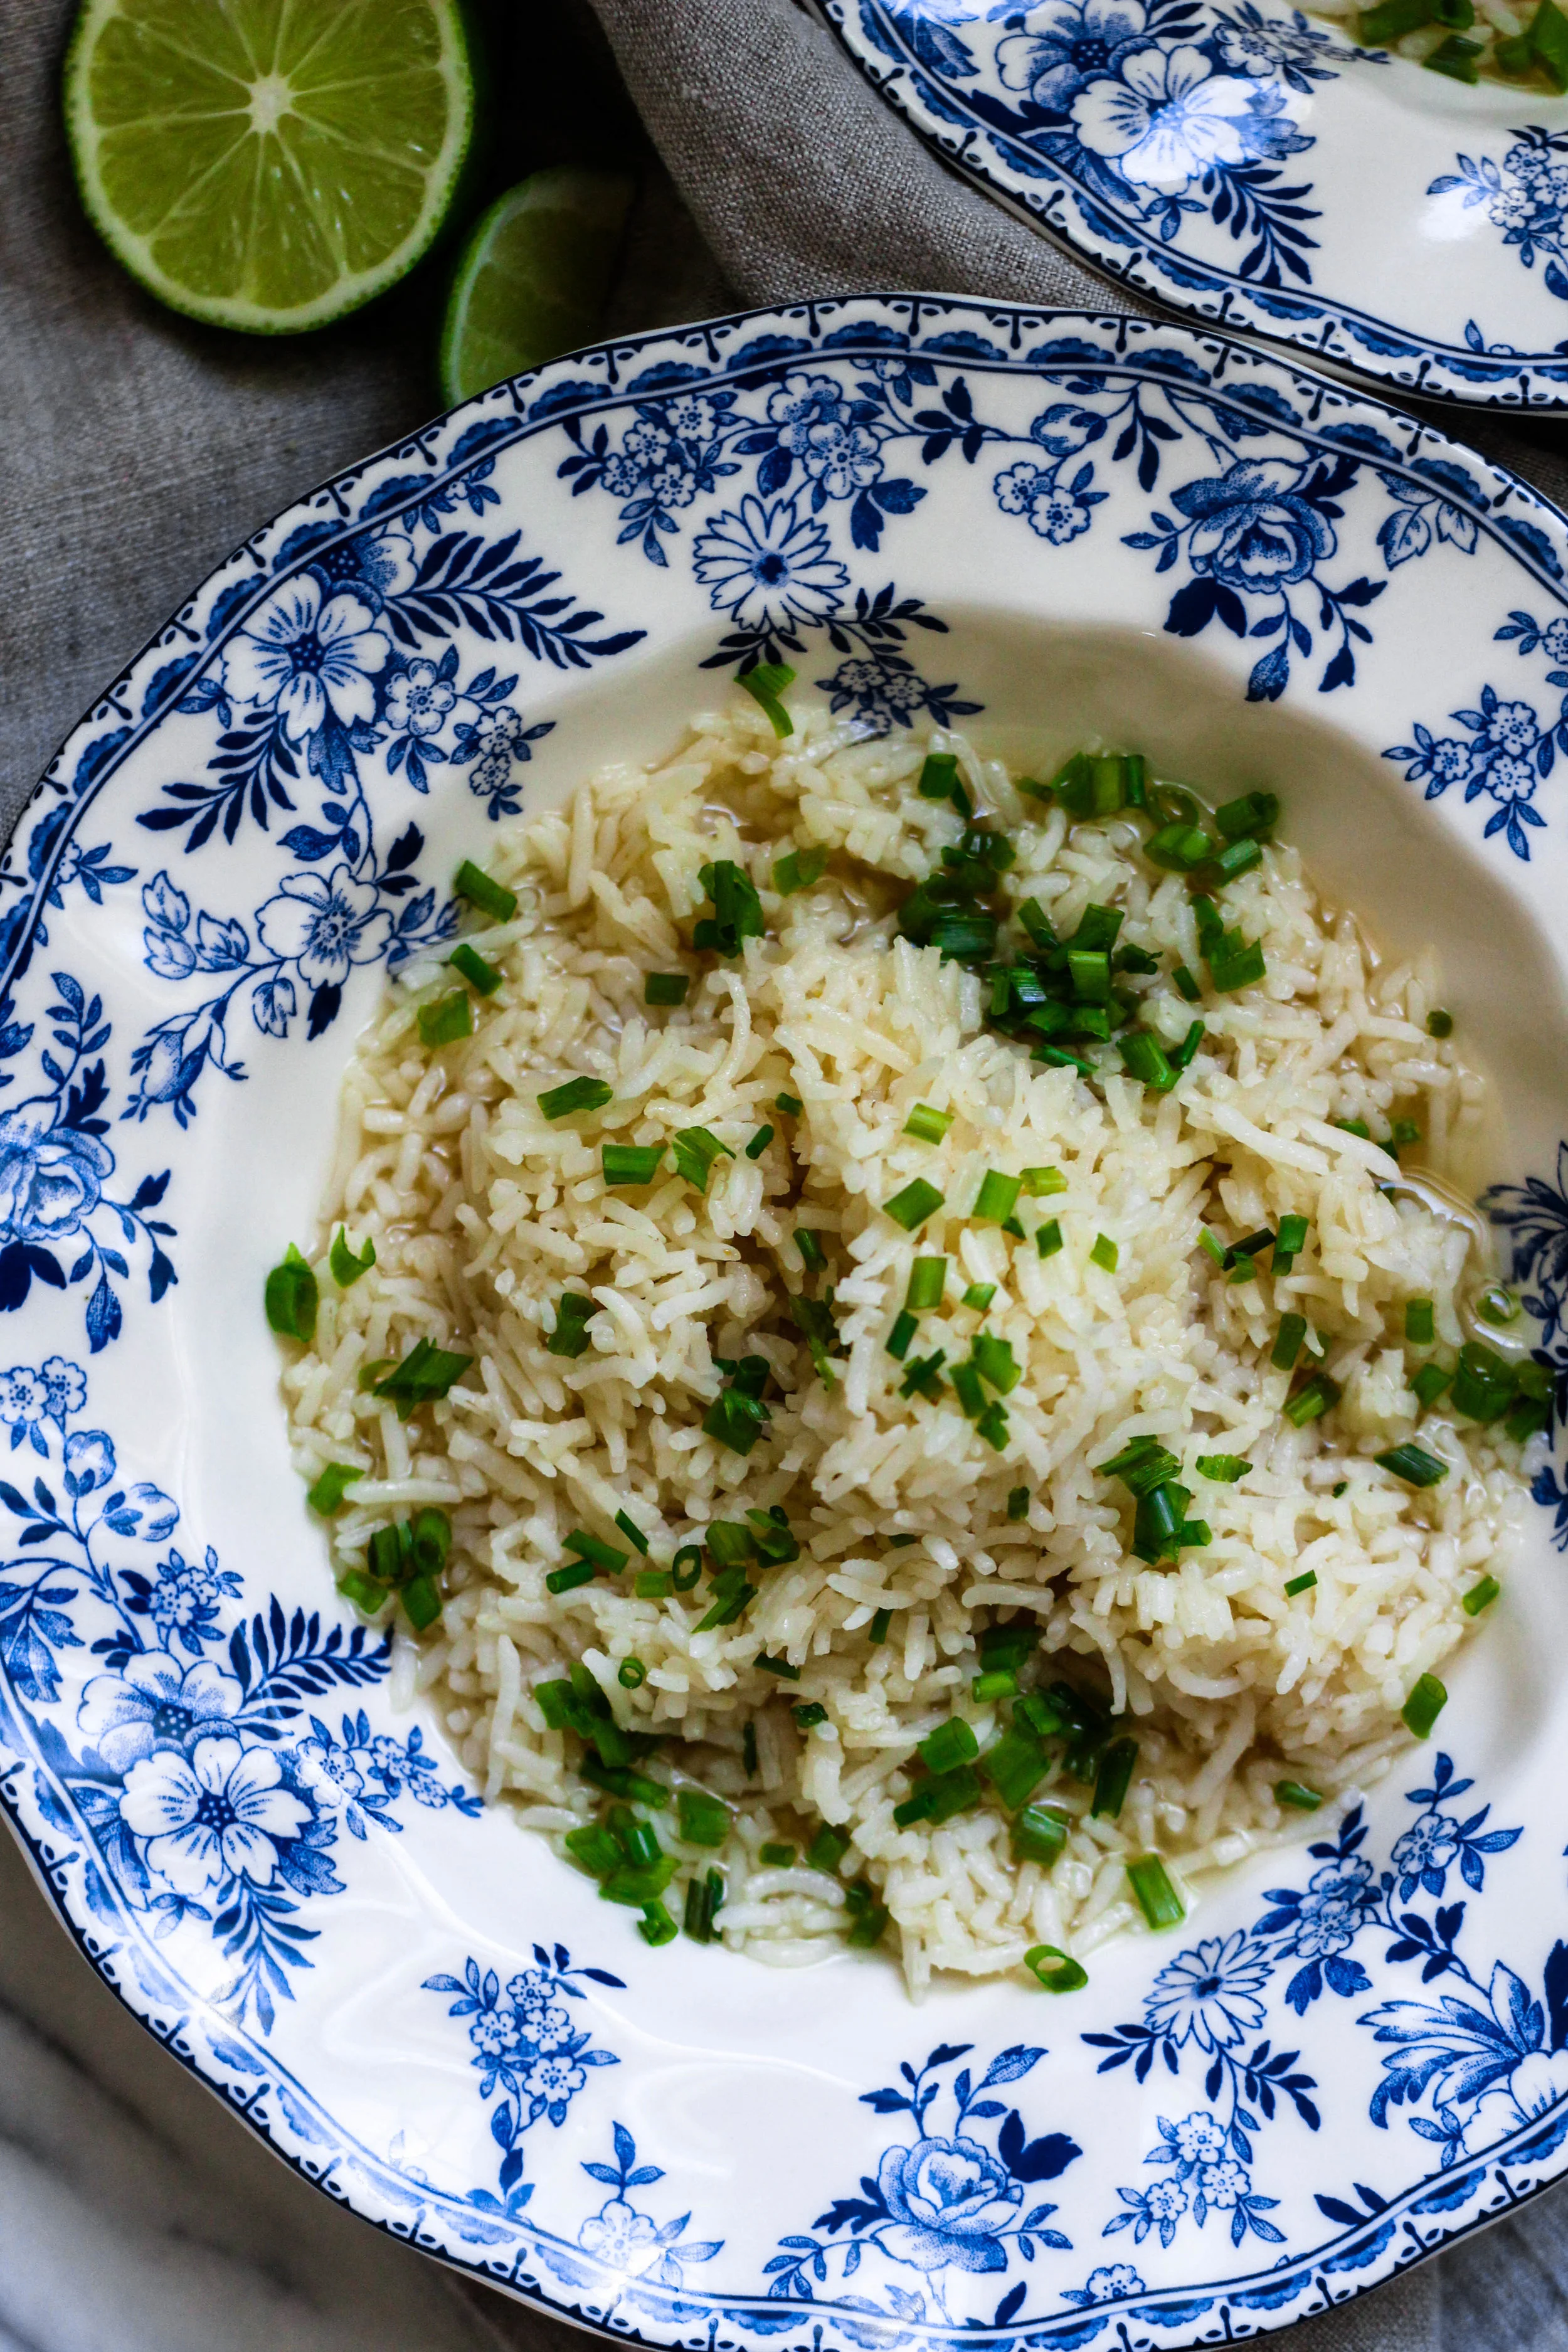
White rice (I prefer jasmine although this time I used Basmati—you could do any rice you like) gets toasted in a pot with a few smashed garlic cloves and lots of butter before simmering away in chicken stock. Once it’s done cooking you simply spoon it into bowls and pour a little more chicken broth over it, depending on how soupy (or not) you want it.

I like to top it with whatever herbs I have in my fridge—my favorites are cilantro and green onion but chives are good too. A little spritz of fresh lemon, lime, soy sauce, or even a sprinkle of Parmesan cheese and crushed red pepper would be amazing. Sesame seeds? Truffle oil? A soft-boiled egg, perhaps. Find your favorite combo—this buttery, garlicky, brothy rice can be whatever you want it to be.

Ingredients:

  • 2 tablespoons butter

  • 1-2 cloves of garlic, smashed

  • 1 cup of rice

  • 2 cups of chicken stock (use veggie stock to make vegetarian), plus more for serving

  • Salt, to taste

  • Desired toppings (herbs, onion, citrus, etc.)

Instructions:

  1. In a medium pan, melt butter over medium-high heat. Add garlic cloves and sauté for 3-4 minutes, or until fragrant. Add uncooked rice and stir well to combine, cooking another 2-3 minutes. Add a large pinch of salt and continue to stir.

  2. Reduce heat slightly and pour in the 2 cups of chicken stock. Stir once more and bring to a simmer. Reduce heat to low and cover. Cook for 15-20 minutes, or according to package directions (I usually cook just a few minutes less, or at least check on it a few minutes before the recommended cook time since I toast the rice before boiling).

  3. Fluff rice with a fork (optional: remove garlic from pot) and add more salt if necessary. Spoon into bowls and top with more broth, then sprinkle herbs before serving.

Related Posts Plugin for WordPress, Blogger...
Roasted Curry Cauliflower
Roasted Curry Cauliflower | Freckled Italian

It’s time for another old recipe reshoot! I think cauliflower is one of the most boring vegetables out there, but I do love it roasted. If you use enough fat and high enough heat you can get it really nice and crispy, and because it’s so bland it does really well with almost any flavor and seasoning—in this case a generous amount of curry powder.

My mom used to make this roasted curry cauliflower a lot when I lived at home after grad school, and I always forget how simple and delicious it is. We don’t use curry nearly enough, but every time I break it out of the spice drawer I’m always so glad I did. Originally we used coconut oil but I actually like this recipe more with olive oil—if you have some melted ghee that would actually probably be the tastiest. If you’re a big fan of coconut oil, though, go for it! I just personally don’t love it in savory recipes.

Roasted Curry Cauliflower | Freckled Italian

Ingredients:

  • 1 large head of cauliflower

  • 1/4 cup olive oil

  • 2 tablespoons of curry powder

  • Salt and pepper, to taste

  • 1/4 teaspoon of crushed red pepper (or more/less depending on preference)

  • Green onion or cilantro, for garnish

Instructions:

1. Preheat oven to 400 degrees. Wash and chop cauliflower—I like to slice it straight down from the top so that the pieces are more flat and have a little bit of stem holding them together (I think it makes them crunchier in the oven!).

2. Transfer cauliflower to a baking sheet. Drizzle olive oil over the vegetables and sprinkle curry powder. Use your hands to mix everything really well, ensuring that each piece is covered with oil and curry powder. Season with salt and pepper and sprinkle with crushed red pepper.

3. Bake at 400 for 20-25 minutes. Serve topped with chopped green onion or cilantro.

Roasted Curry Cauliflower | Freckled Italian

I love this cauliflower as a side dish with some grilled chicken, on a bowl of steamed rice, or even on its own as a snack. You can make it as spicy or as mild as you’d like! I hope you love it—let’s all make a pact to eat more vegetables this spring and summer!

Roasted Curry Cauliflower | Freckled Italian
Related Posts Plugin for WordPress, Blogger...
A Grain-Free, No-Bake Lemon Tart

No matter how homesick I may get for the east coast from time to time, there’s absolutely nothing I love more than walking into my backyard on a sunny afternoon and picking a bunch of lemons from our tree. I usually slice them up to pop into ice water or hot tea or the occasional Diet Coke, but I’ve always wanted to try out an actual lemon “recipe” with our abundance of citrus.

Last year I made some super salty preserved lemons, but this time I thought it’d be fun to try my hand at a big fresh lemon tart to celebrate that spring is only a week away. I originally wanted to make this a low-carb or at least Paleo dessert, but I ended up using regular sugar for the lemon curd because it’s what I had and honestly, it’s what I wanted. If you use low-carb sugar alternatives, I’m sure you could substitute the sugar for something else, but I did make the crust grain-free, sugar-free, and with only a few ingredients!

Grain-Free, No-Bake Lemon Tart

Ingredients:

For the crust:

  • 3 cups of nuts (I used almonds and a bit of pecans)

  • 1 cup of melted coconut oil

  • A pinch of salt

  • 1/4 teaspoon vanilla extract

For the filling (from Ina Garten’s lemon curd recipe):

  • 3 large lemons

  • 1 1/2 cups of sugar

  • 4 eggs

  • 4 ounces of butter, room temperature

Instructions:

  1. To make the crust, pulse nuts in a food processor until finely crushed (stop before you turn it into nut butter—you want it to be the texture of rough sand). Transfer from food processor into a bowl.

  2. Pour melted coconut oil over nut mixture and stir well to incorporate. Add salt and vanilla and mix together. Transfer to a pie dish and press gently with your fingers to create a crust. Refrigerate until ready to use.

  3. Use a vegetable peeler to remove the zest of the lemons. Transfer zest to food processor and pulse together with sugar until well combined. Cream butter in a separate bowl and add the sugar and lemon mixture to it. Mix well to combine and add eggs one at a time as you continue to stir. Slowly add lemon juice and mix until smooth.

  4. Transfer everything to a pot on the stove and cook over medium-low heat until curd begins to thicken—about 10-15 minutes. Remove from heat and allow to cool completely (you can make the curd a day or two ahead of time if you want).

  5. Pour the filling into the pie and transfer to freezer. Remove from freezer 10-15 minutes before serving.

Happy belated pi day and early spring wishes! Is there anything more cheerful than a bright yellow lemon pie?

Related Posts Plugin for WordPress, Blogger...