Posts in "DIY"
DIY IKEA Hack: X-Shelf Wine Rack

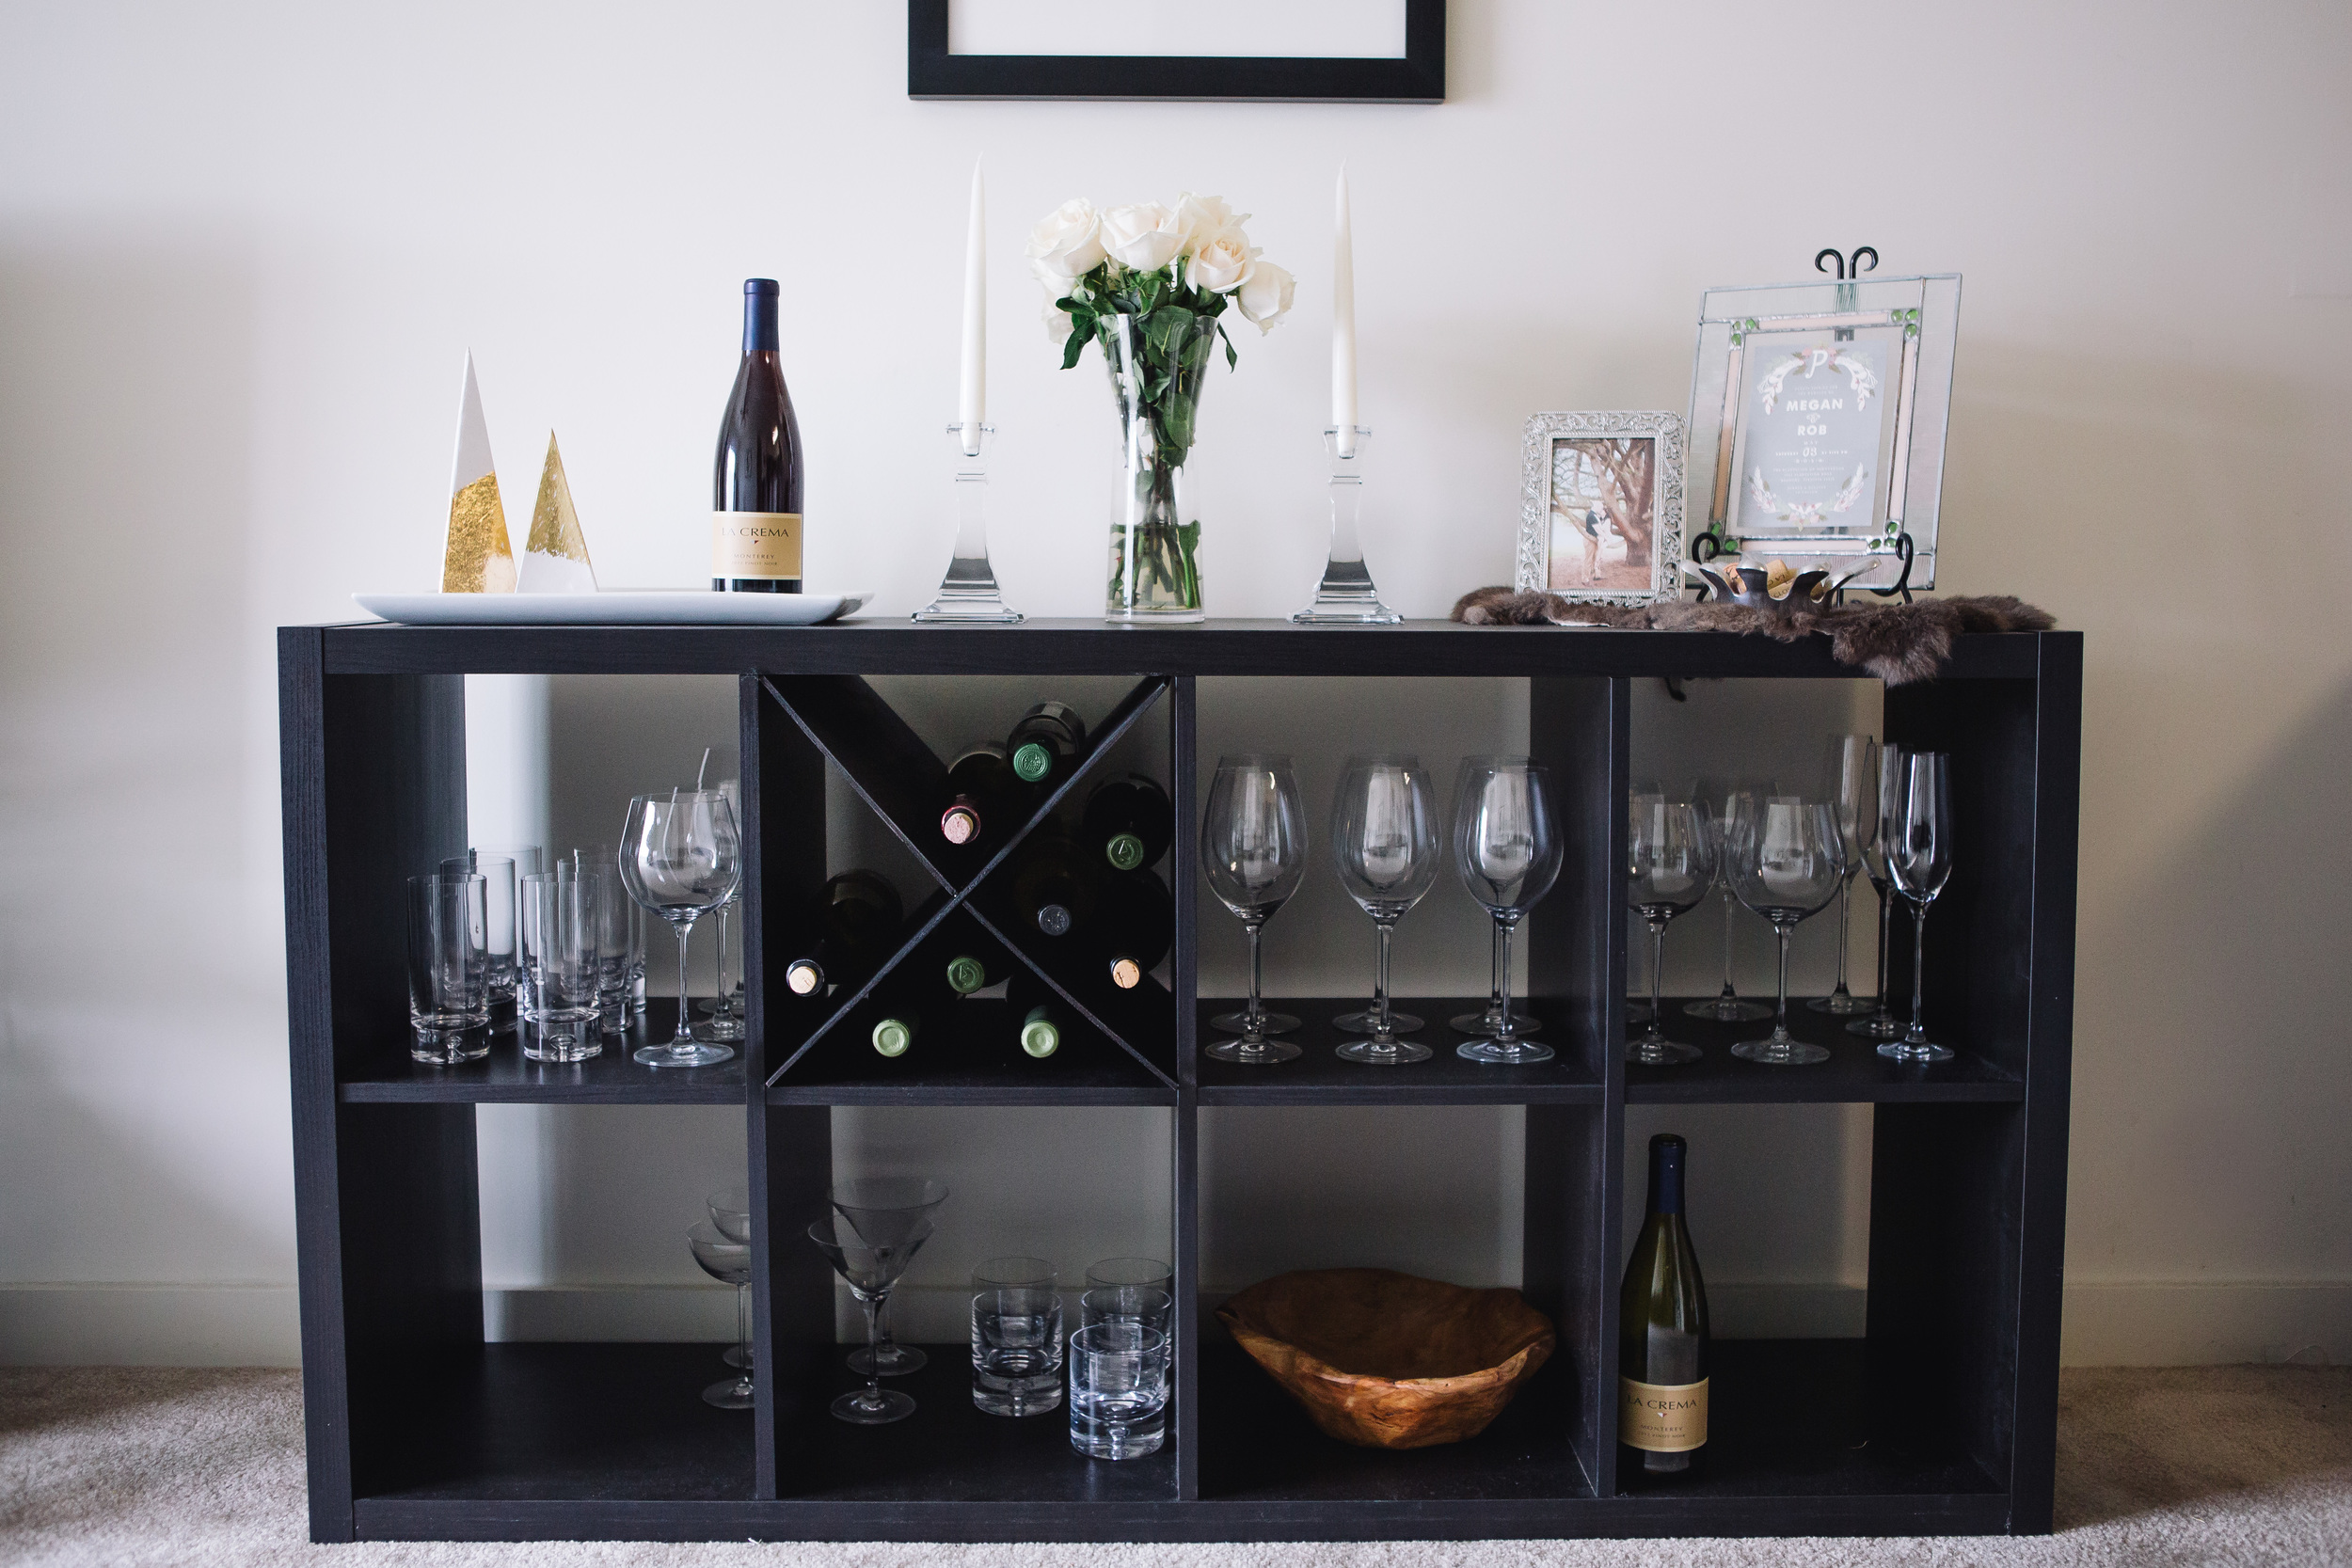
I am surprised and proud to tell you that last week, I built something! I did a little IKEA hack and turned our KALLAX storage unit into more of a wine rack. I love the way it turned out.

Rob was nice enough to help me out (it did involve a little bit of math, which is always scary for me) and now we look like we really know what we're doing when it comes to wine storage. And all you need is a couple pieces of plywood!

For this tutorial, I used wood glue, because I'm not a professional and when it comes to DIYs that involve lumber, I usually try to find the easiest way to make it happen. The wood is light enough that the glue is sturdy (plus you're putting it in a cubby afterward, so the whole thing gets supported by the shelf). It's all very technical.

If you're looking for a simple weekend project, look no further! It only takes a couple of days (you have to let the glue dry overnight) and then you're good to go. Let me know how it turns out if you make one of your own!

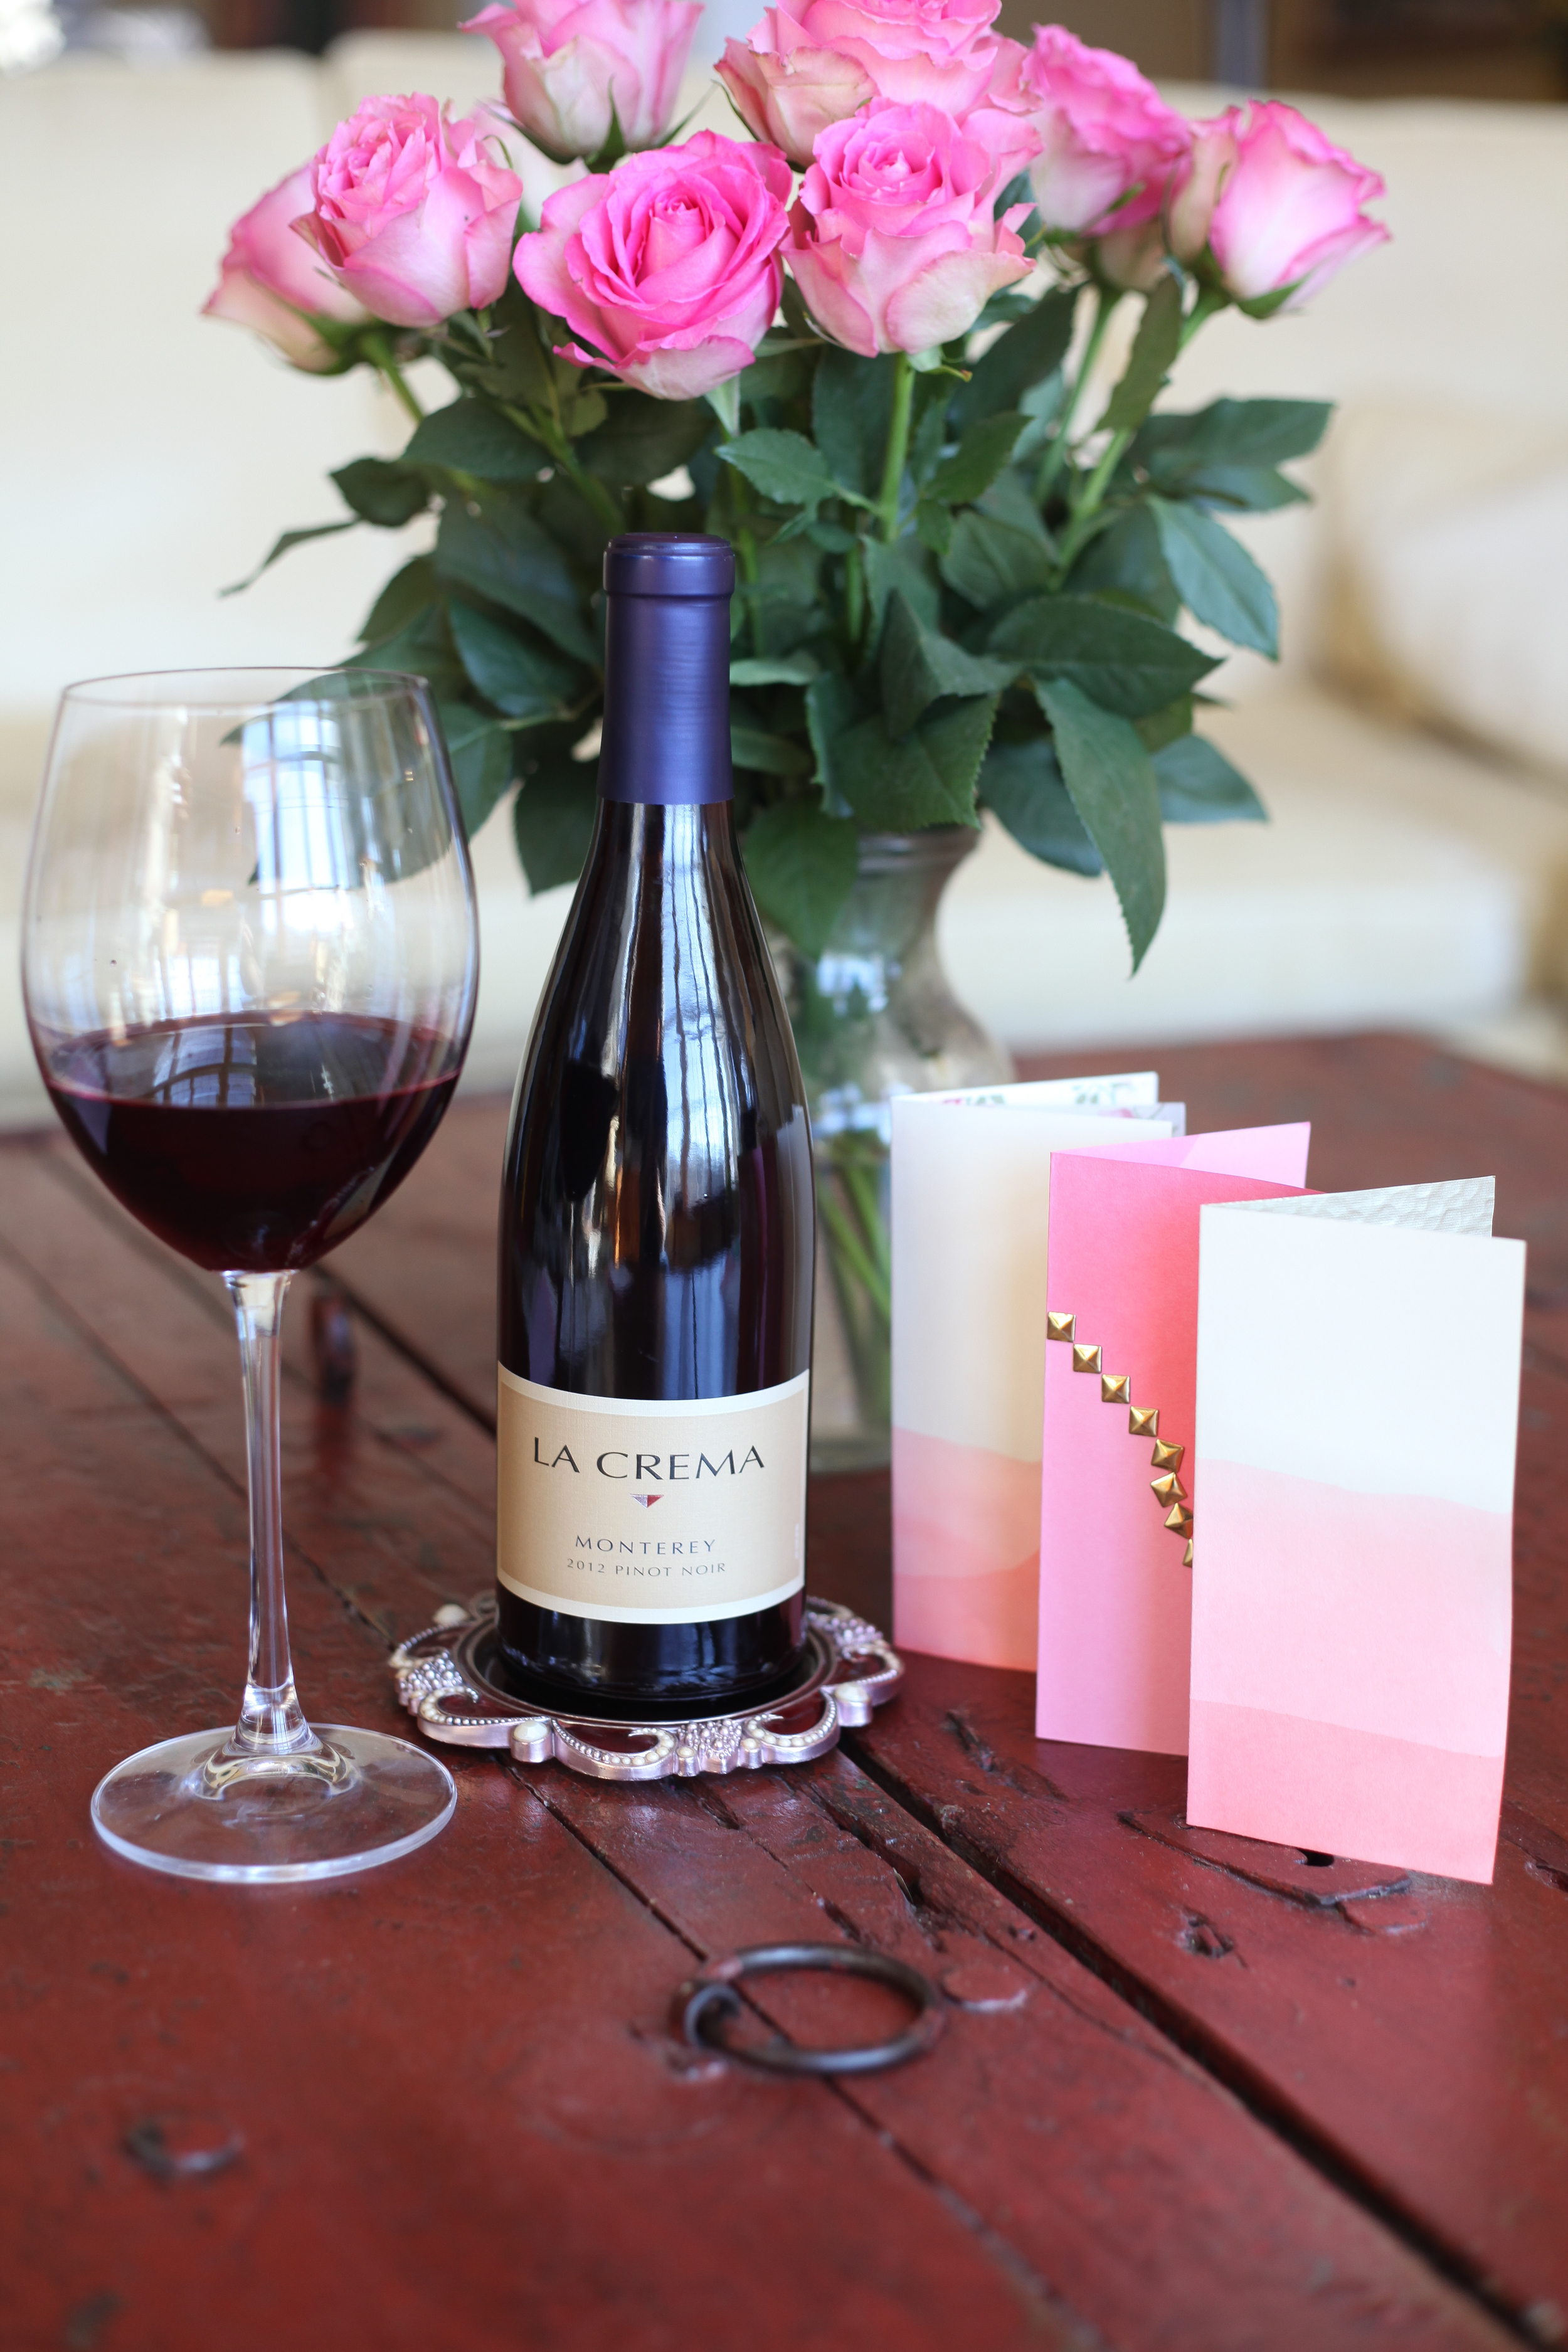
This post is brought to you in partnership with La Crema. For my IKEA Hack tutorial, visit their blog today and get the full instructions!

Photos by Joshua Vasko for Freckled Italian.

Related Posts Plugin for WordPress, Blogger...
DIY Dip-Dyed Valentines

When I was in Roanoke last weekend, my friend Raquel came over for an afternoon of crafts, catching up, and a couple glasses of La Crema Pinot Noir. It was the perfect early Valentine's (or should I say Galentine's) Day celebration!

We put together some homemade valentines using dip-dyed card stock. The end result was really lovely--and even kind of professional-looking! I was pretty proud of them.

DIY Dip-Dyed Valentines

This post is brought to you in partnership with La Crema. Be sure to stop by their blog today for my dip-dyeing tutorial!


Photos by Sarah Gatrell of Photo + Love for Freckled Italian.

Related Posts Plugin for WordPress, Blogger...
How To: DIY Glitter Pumps

My wedding dress and I fell in love immediately (it was my mom's), but I spent some time trying to figure out what shoes I wanted to wear when I got married last year. Our ceremony was going to be outside and Rob is quite a bit taller than me, so I knew I needed high heels that were substantial enough for me not to sink into possibly damp grass. I thought about wedges but never really found any I liked enough, and I kept coming back to a favorite pair of leather pumps I used to wear to work every day. "If only I could find a pair exactly like these, just a little more special," I kept saying.

I had a brown pair and a nude pair of these pumps from J.Crew, and the nude ones had been worn to pieces. I had actually stopped wearing them because they looked so bad, and when I was about to throw them away I decided to try a little craft on them first. So with a bit of Mod Podge and a whole lot of glitter, I managed to create the perfect pair of wedding shoes.

I'm going to show you how I did it because I am really not super crafty, but these were so easy and I absolutely loved making them. (And the supplies only cost me about $15!)

Supplies:

Instructions:

  1. Tape the soles with masking tape--you don't really have to do this but if you're worried about getting glue on the bottom, it makes life a little easier for you.
  2. In a paper bowl, pour some Mod Podge and mix quite a bit of glitter into it. I didn't measure and just kept adding glitter until I could tell that there was more than just glue in there.
  3. Brush the glitter-glue mix onto each shoe. Do two or three coats. Let it dry overnight. Remove tape.
  4. The next day I felt like they looked pretty good, but I wasn't completely happy with the amount of sparkle. I added another coat of Mod Podge (glitter-less, this time) and then just poured loose glitter on each shoe. That did the trick.
  5. Use the acrylic sealer to spray a coat or two on top of the final layer of glitter. If you're wearing a short dress, you're good to go, but since my dress is long, I added a few extra coats so that the rough glitter wouldn't snag the lining of my gown.

Note: This post was originally published in December of 2013 but I'm reposting it today with some new photos taken by our wedding photographer and a little copy editing. I broke these bad boys out for New Year's Eve last week and got so many compliments and had so much fun saying "Thanks, I made them!" that I wanted to revisit this post. (The formatting of the comments from last year are a little wonky because they were posted before I switched to Squarespace.) If you make a pair of your own, let me know!

Related Posts Plugin for WordPress, Blogger...